In popular media, archaeological fieldwork is generally synonymous with “excavation.” Many people assume that we spend all our time digging up dinosaur fossils. Others are vaguely aware that archaeology is the study of the human past, and assume that we spend our days excavating ancient ruins. This is closer to the mark, but the truth is a little more complicated.
For those archaeologists who work in academia, when they do get around to doing fieldwork, it is often in the form of an excavation. Archaeology professors at universities can apply for grants to fund excavations at sites that might help them answer specific research questions within their own narrow area of interest. Many of these excavations are actually field schools, which are college courses intended to teach young students how to conduct archaeological fieldwork. The laborers at these excavations are college kids who are paying tuition for the opportunity to work outside in the hot sun for several weeks.
But this website is not really about academic archaeology. The purpose of this website is to provide practical information to archaeologists working within the Cultural Resources Management (CRM) industry. CRM archaeologists are paid to help private companies and government agencies comply with the laws that protect archaeological resources. In practice, this means that we spend most of our time surveying, rather than excavating. But we do excavate occasionally.
One of the aforementioned laws is Section 106 of the National Historic Preservation Act (NHPA), which mandates that any party that proposes some sort of ground-disturbing project—such as construction or logging—must take archaeological resources into consideration if the proposed endeavor meets one of the following three criteria:
- Uses federal funding
- Occurs on federal land
- Requires a federal permit
Typically, this means that you must conduct an archaeological survey on the land proposed for development, to locate and record any and all archaeological sites (and isolated finds) within the project area before they can be destroyed by heavy machinery. Archaeological sites, by definition, were created in the past; thus there is no way to recreate them without going back into the past—and there is no way to do that without a time machine. Once a site has been destroyed by machinery, it is gone forever, and all the scientific information it could have yielded is gone as well; it can never be recovered.
Section 106 is not the only piece of legislation that can trigger the need for an archaeological survey. Section 110 can also trigger surveys on federal land. And various state laws can trigger surveys as well. I am not going to discuss every state’s laws regarding Cultural Resources Management.
If, during a survey, you find a site that has the potential to yield a lot of information, that site may be eligible for placement on the National Register of Historic Places (NRHP). And if the site has potential to be added to the NRHP, that may lead to the need for scientific excavations at the site in the future. If you want to work in CRM, you need to become familiar with the overall CRM process—from the discovery of previously unknown sites during the initial survey of an area, to the later excavations that determine their eligibility for the NRHP, and eventually the large data recoveries that extract as much data from the sites as possible before they are completely destroyed.
If you are already working in CRM, you probably already know most of this, and your current supervisors can probably explain the process with more nuance and insight than I can. Unfortunately, I am not a very good bureaucrat and this kind of subject matter is not my strong suit. If you are not yet working in CRM but you would like to do so one day, you may want to take the opportunity to learn this information, because this is not something that is typically taught in university courses. Either way, you are welcome to read this and take away from it whatever you will.
Phase I Survey
Imagine you are a CRM archaeologist and one of your clients has proposed a large construction project. For some reason, the project has a federal nexus, and now it falls under Section 106, meaning that you need to conduct an archaeological survey within the boundaries of the proposed project area. The client will probably send you a design plan, and maybe some kind of geospatial file—such as a shapefile or KMZ—which allows you to know exactly which piece of land will be impacted by construction. You will probably need to write a desktop review, which allows the client to know exactly what needs to be done. Then the fun begins.
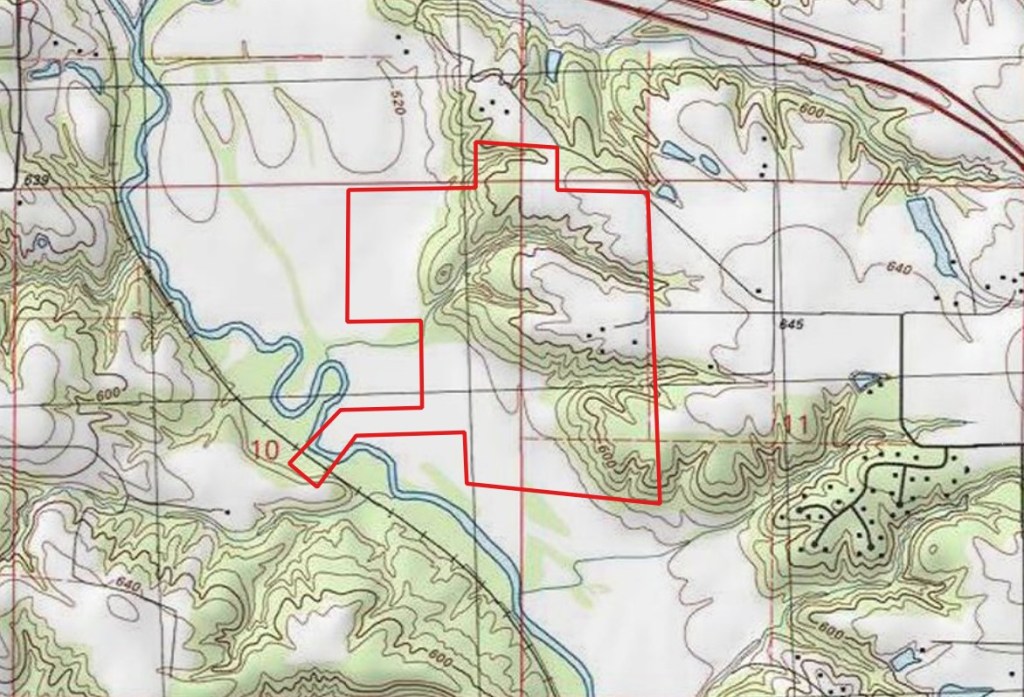
The initial phase of fieldwork is Phase I—the survey. During the Phase I survey, you must investigate the entire project area and locate all the archaeological sites within it. After you have found a site, you must define its horizontal boundaries so it can be plotted on a map.
During archaeological surveys, we use two main methods: shovel testing and pedestrian survey. During a pedestrian survey, we walk across the project area and look for artifacts and features on the surface of the ground. During shovel testing, we dig small holes and sift the excavated soil for artifacts. The application of these methods depends on the ground cover, and on the state guidelines for archaeological survey. Every state has its own guidelines. Some are more strict than others.
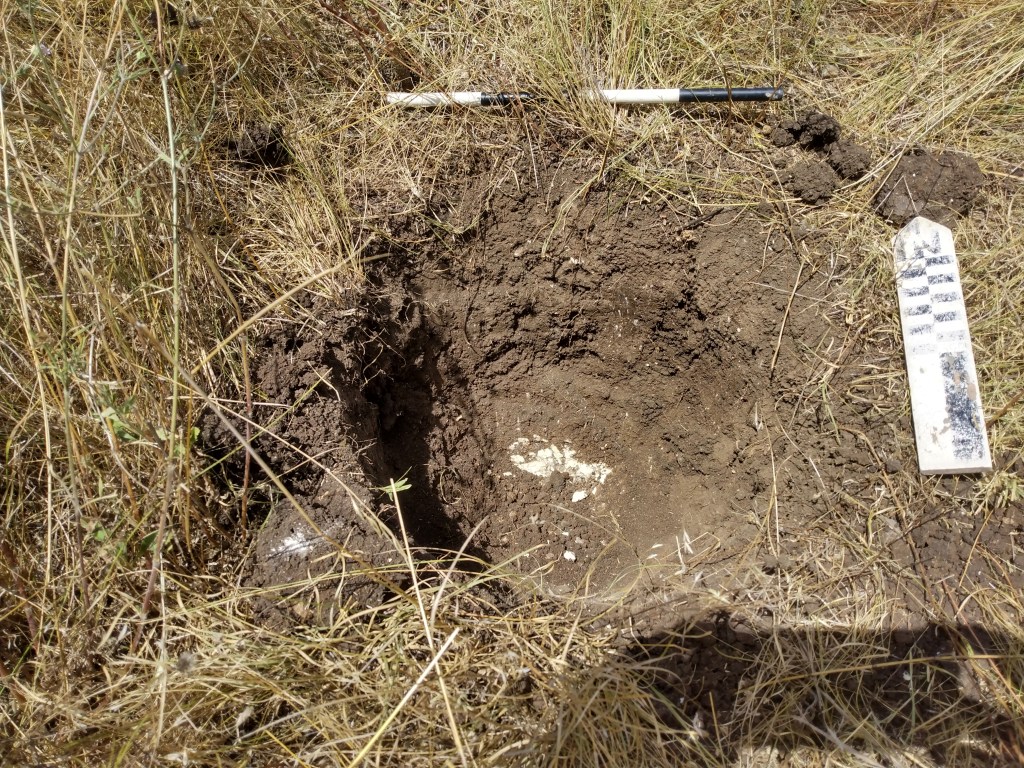
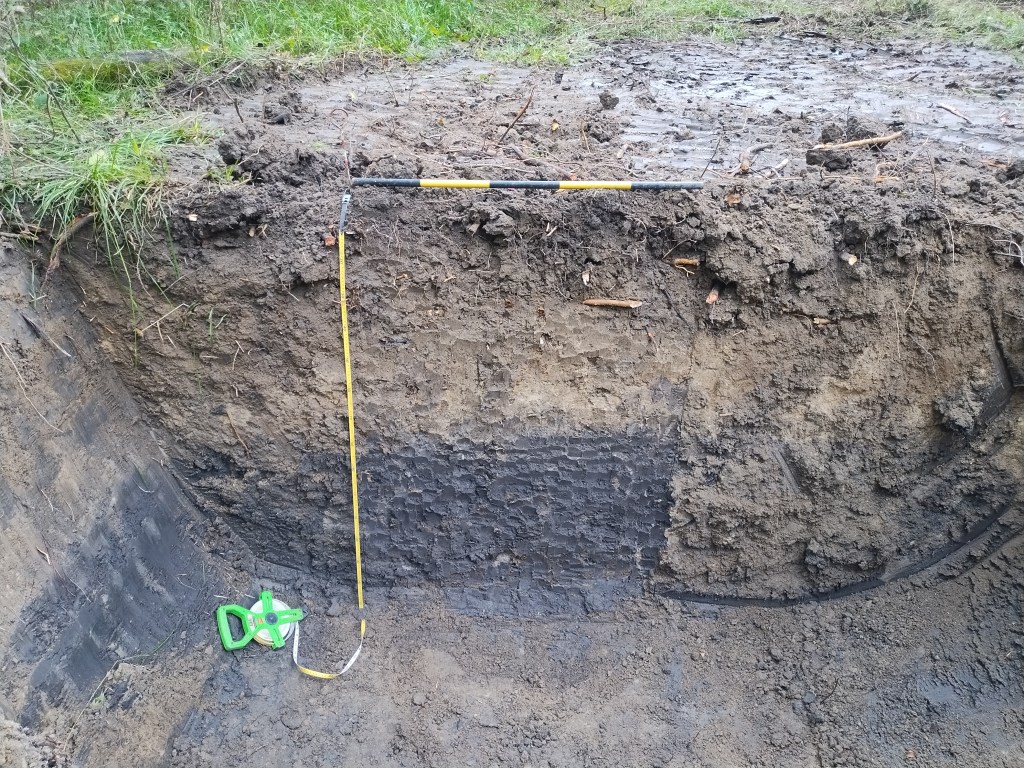
During shovel testing, you are not only sifting the soil for artifacts. You also need to document the soil horizons revealed within the shovel test, even if that shovel test is negative for cultural material (and most of them will be). You will measure the depth of each horizon with a tape measure, then record the color and texture of the soil. We use a Munsell book to determine the color, and the United States Department of Agriculture (USDA) soil triangle to determine the textural class.
A Munsell Soil Color Book allows you to assign a numerical value to virtually every shade of soil color found in nature, with far more rigor and precision than would otherwise be possible if you simply used terms such as “brown” or “light brown.” Below is a photograph of one of the most commonly used pages within a Munsell book—the 10YR page. When using a Munsell book to determine the exact shade of a soil horizon within a shovel test, you must first find the right page. Then, you match up your soil sample with one of the color swatches on that page. When you have found the matching shade, you must write it down in your notes.
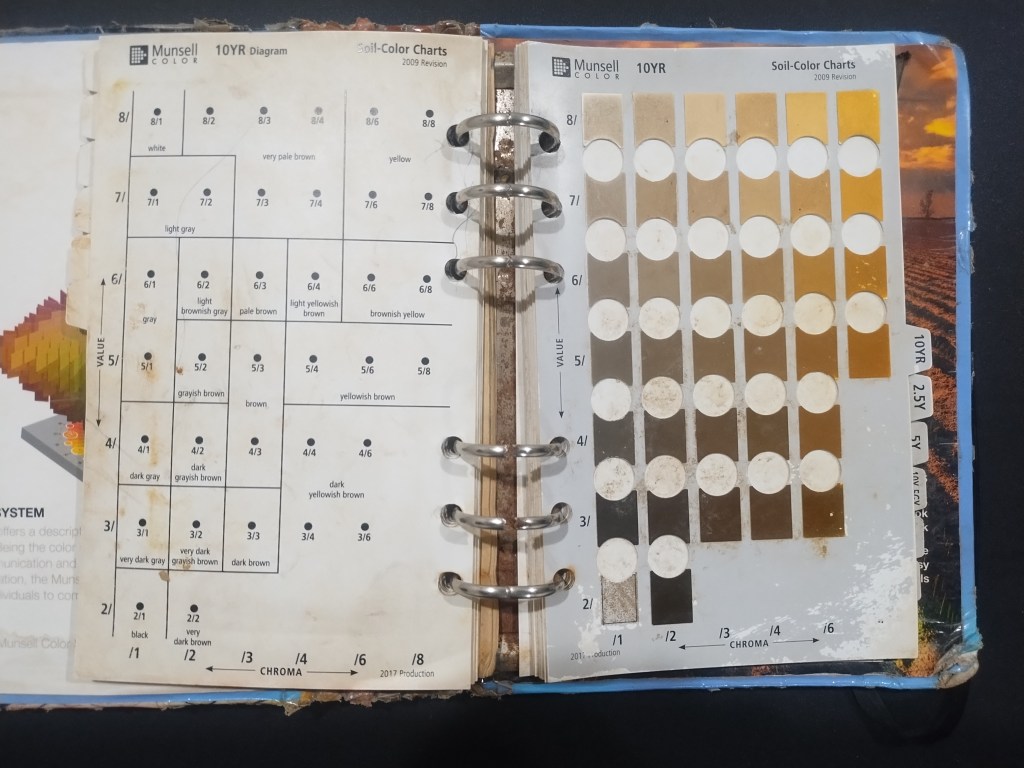
Let’s say that your soil sample matches up with the swatch that is second from the bottom and second from the left on the 10YR page. To write down this specific shade in your notes, you first write what is at the top of the page: “10YR.” Then, you write down the “value,” which is any of the numbers along the left side of the page. In this case, the value is “3.” Finally, you write down the “chroma,” which is any of the numbers at the bottom of the page. In this case, the chroma is “2.” The exact shade of your soil sample would be written as “10YR 3/2 very dark grayish brown.” You will need to do this for every soil horizon within your shovel test.
In addition to finding your Munsell color, you need to determine the texture of each soil horizon within your shovel test. First, you must understand that soil is made up of three types of particle: sand, silt, and clay. A soil that contains all three types of particle is called a “loam.” Every possible combination of these particles can be found on the USDA soil triangle, as shown below.
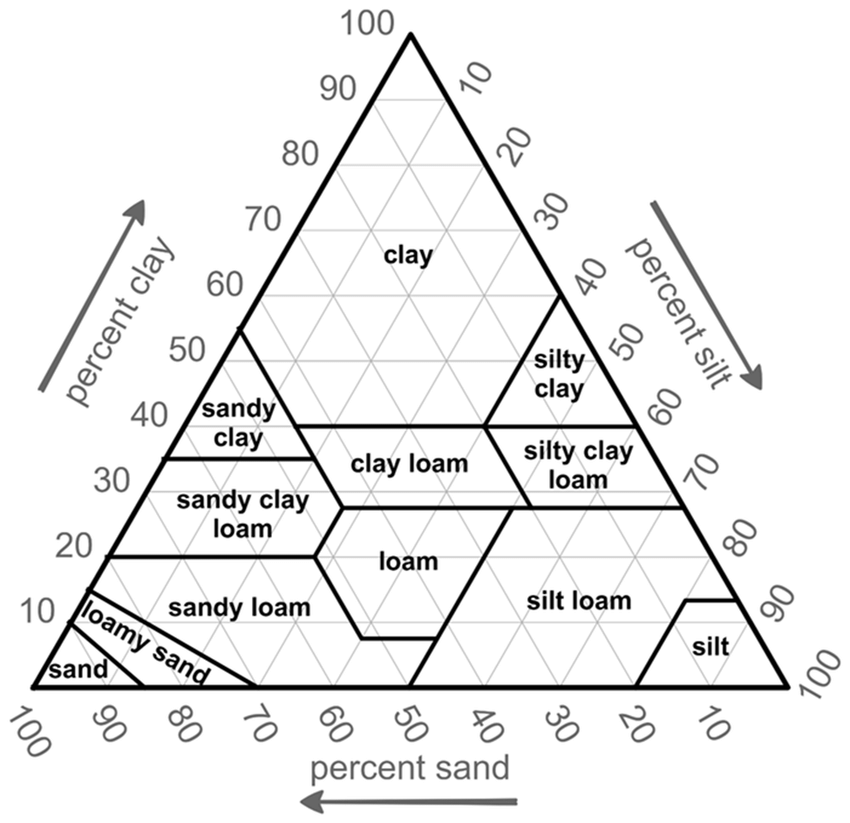
Many field technicians will write down soil textures that are not recognized by the USDA, because they are not familiar with this triangle. For example, many field techs will encounter soils that contain both silt and sand particles, and write down something such as “silty sand” or “sandy silt,” neither of which is a USDA textural class. A soil that contains roughly equal amounts of sand and silt would simple be called a “loam”—unless that soil contains no clay at all. If there is no clay at all, then you can call it a sandy loam if more than half of it is sand, or a silt loam if more than half of it is silt.
To better understand why we collect this information, and how to interpret it in a way that is meaningful for archaeologists, you can visit the post on Geology & Shovel Testing. Most field techs probably collect this data without having any idea why it matters, or how to interpret it. I will provide a rough synopsis here. On most upland environments with no deposition of new geological material, artifacts will be buried by bioturbation and incorporated into the topsoil. Few, if any, artifacts will be found in the subsoil, so you should be able to terminate your shovel test about 10 cm. into the subsoil. To determine whether you have made contact with the subsoil, you need to check for clues that are indicative of the subsoil zone. The subsoil is usually defined as the “zone of illuviation,” meaning that clay particles and iron and aluminum oxides have filtered downwards into this zone. So if you happen to dig into a soil zone that contains more clay than the soil above it, and also has a more reddish or yellowish color due to an increase in iron and aluminum content, then you have probably penetrated into the subsoil. That is why it is so important to keep accurate notes of the colors and textures of the soil horizons within each shovel test.
On some landforms, especially on floodplains, artifacts may be deeply buried under layers of alluvial sediment. You may even encounter a buried topsoil zone, which could very well contain artifacts. A buried topsoil is not the same as subsoil, and your notes should be able to illustrate the difference. A buried topsoil zone will probably have a dark color, due to its high organic content. Many field techs do not understand the difference between a subsoil zone and a buried topsoil zone. Which is all the more reason for them to take accurate notes, in case someone who is more familiar with soil science has a chance to review their notes.
In Texas, archaeological surveys often include mechanical trenching as well, if the project area overlaps a Holocene floodplain. Sites found on Holocene floodplains can be deeply buried beneath recent alluvial sediment, sometimes so deeply that they cannot be reached by shovel. Archaeologists in Texas are required to implement deep testing to locate these sites. They have a backhoe operator dig a deep trench, while they search the backhoe spoils for cultural material. To the best of my knowledge, mechanical trenching is not used as a common survey method outside Texas.
To complicate matters, not all states use the same terminology for archaeological surveys. The Western states divide survey projects into three different classes:
Class I Inventory: This is the compilation of all previously recorded archaeological data within your project area. In other words, you need to figure out which surveys have already been conducted within your project area, and you also need to figure out which sites have already been recorded within the project area. This does not entail fieldwork. You need to consult an online database, and possibly visit a Forest Service office or BLM office for more information. In most states, we simply call this “background research.”
Class II Inventory: This is a reconnaissance inventory. During a Class II Inventory, you conduct a field survey, but your survey does not cover the entire project area. Instead, you only survey those portions of the project area that are deemed likely to contain archaeological resources. A Class II Inventory may or may not be acceptable, depending on the specific situation. I dislike the idea of Class II Inventories because I have found far too many sites in places where I was assured by my supervisors that I would not find anything.
Class III Inventory: This is an intensive survey of the entire project area. In the Western states where this terminology is used, this typically entails that the entire project area be covered by a pedestrian survey, with transect lines spaced no more than 30 meters apart.
Some Northeastern states have their own idiosyncratic terminology as well. For example, New Hampshire, Connecticut, and Massachusetts use the following terms:
Phase IA Survey: This is an initial walkover of a survey area, before shovel testing. In these states, a pedestrian survey must be implemented across the entire survey area before you can begin shovel testing.
Phase IB Survey: This is the shovel testing portion of the survey. After the initial pedestrian survey has been completed, you must return to the project area for shovel testing.
Phase II Testing
Let’s say that, during your hypothetical survey, you have found a previously unknown site. Now it’s time to decide whether the site is eligible for the NRHP.
There are four criteria under which a historic property can be eligible for inclusion on the NRHP. The first three are mainly concerned with standing structures, and are not really relevant to archaeology. That is for the architectural historians to worry about. The fourth criterion, Criterion D, says that a historic property can be eligible for the NRHP if said property has the potential to yield information. Thus, archaeological sites that have the potential to yield significant scientific data can be included on the Register under Criterion D. Many of the sites we find are lithic scatters that don’t tell us much that we don’t already know, but some are significant enough to merit protection.
When we evaluate a site to determine whether it is eligible for the NRHP, we typically look for the following two things:
- Diagnostic artifacts
- Intact features
Diagnostic artifacts can be attributed to a certain time period or culture. These include projectile points and pottery. As opposed to flakes of debitage, which look about the same whether they were made 10,000 years ago or 500 years ago.
A feature is anything man-made that is a permanent part of the landscape, and thus cannot be relocated elsewhere, unlike artifacts, which are portable. Features often manifest as stains in the soil. Feature stains in the soil can contain any number of artifacts, faunal remains, botanical remains, and datable charcoal samples—as well as microscopic pollen or phytolith samples. Taken together, these can be used to reconstruct ancient lifeways.
Another factor to consider, which I have seen referenced in many reports, is “spatial patterning.” This basically means that the artifacts are arranged in discrete concentrations, suggesting different activity locations within the same community, or possibly multiple occupations in roughly the same area, over a prolonged period of time. If you are finding multiple clusters of artifacts at the same site, that could be evidence of spatial patterning.
Let’s say that, during the Phase I survey, you found a few projectile points and potsherds at your newly discovered site. These are diagnostic. You have also seen some evidence for spatial patterning, in the way the artifacts are distributed. You did not see any features, but you did find several pieces of fire-cracked rock (FCR), which could indicate the presence of a burned rock feature buried somewhere out of sight.
If you are good at your job, you will realize that you were never likely to see any feature stains at the surface, especially in a plowed field. You didn’t find any features in your shovel tests either, but you’re smart enough to realize that the sample size you accrue through shovel testing is probably too small to expose any feature stains. When we shovel test a project area, our sample size is less than a tenth of one percent of the total topsoil volume. Often, it is significantly less than that, even. With a sample size that small, you are not likely to place a shovel test directly over a hidden feature, unless you have a good stroke of luck (I have placed a shovel test directly over a buried feature on at least two occasions, but after digging thousands of shovel tests, I suppose it was bound to happen eventually). Thus, you surmise that this site may very well contain one or more intact features under the ground, but it will take additional testing to find them.
I used to work as a subcontractor for a large CRM firm that decided, on one of its projects, that it would not consider any sites for NRHP eligibility unless we found a feature in a shovel test. This was not a realistic expectation. Even though I was young and inexperienced at the time, I suspected that this firm was acting as a shill for their client, a powerful pipeline company (now, after many more years of experience, I’m sure of it). Bizarrely, this firm still has a good reputation among regulating agencies, though I don’t think they deserve it.
I’ve known some CRM archaeologists who assume that all sites found in plowed fields have been so thoroughly damaged by plowing that nothing could possibly still be in situ. They automatically dismiss all artifacts found in agricultural fields as having no context. I’ve even heard of some particularly lazy archaeologists who won’t even survey plowed fields at all because they write them off as having been completely disturbed.
Admittedly, plowing can move some artifacts out on context—in the plow zone. The plow zone is typically only about 30 cm. deep. Many features—including storage pits, earth ovens, house pits, wall trenches, and post molds—can extend much deeper than 30 cm. into the earth. A typical Mississippian house pit would be a few feet deep. Therefore, there are portions of these feature stains that are still intact, below the plow zone. In fact, every feature stain that I have ever excavated was located in a field that had been plowed at some point. Plowed fields can contain any number of intact features, and any archaeologist who still holds on to the dangerous assumption that all sites found in plowed fields are completely disturbed should not be working in CRM.
I have also seen some evidence for spatial patterning on the surface of plowed fields, so I’m not convinced that artifacts within the plow zone itself are totally out of context either.
Now let’s assume that you are well-informed enough to realize all this, as you consider what to do with the site you’ve found. You have already found diagnostic artifacts. You have some reason to suspect that there may be features present, and though you have not found them yet, you know they can be mostly intact below the plow zone. You suspect the site has potential for NRHP eligibility, and the regulating agency agrees with you.
So you approach your client and recommend that they modify the construction design plan to avoid impacting the site. But the client would rather not. To be fair, modifying a construction plan is difficult and expensive. Now, it’s time for Phase II testing.
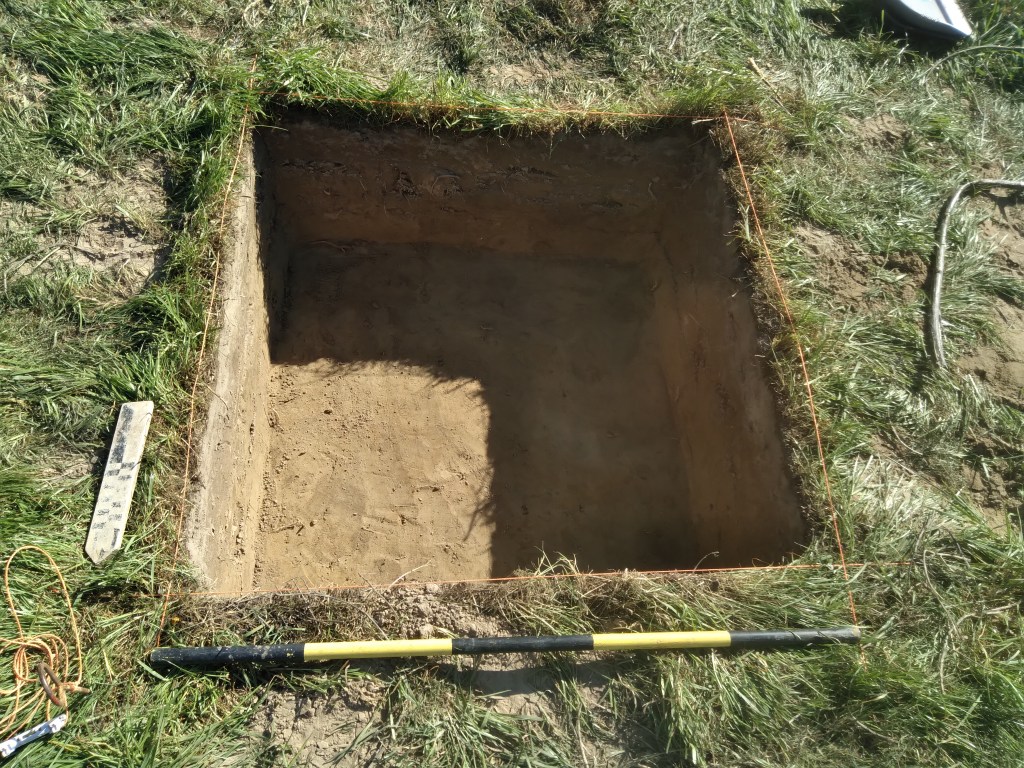
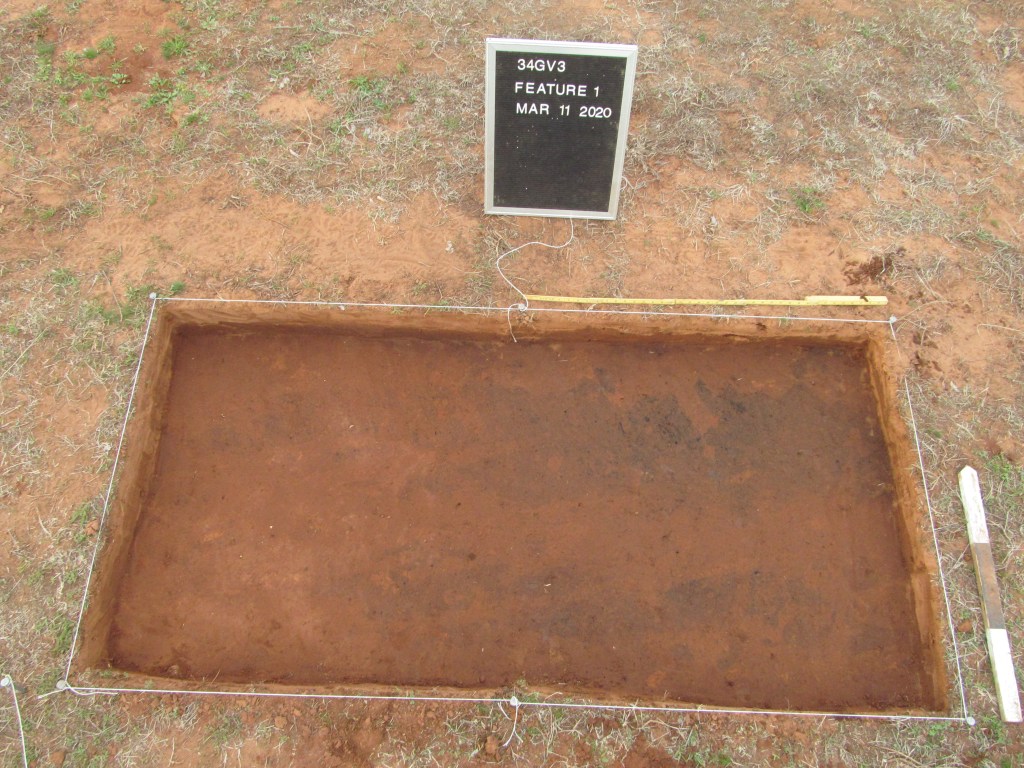
The Phase II testing project is a small excavation intended to evaluate whether a site is eligible for the NRHP. You need to lay out and excavate several test units. Each test unit will probably be a one meter-by-one meter square, and you will probably be excavating in 10-cm. arbitrary levels. Ideally, you will be using the excavation skills you learned at your field school, as an impressionable young college student. This is a small excavation—it will probably entail fewer than ten test units.
If you’re lucky, you might have the funding to pay for a geophysical survey. The geophysical surveyors will use a magnetometer or ground-penetrating radar (GPR) to pinpoint anomalies in the ground, which could be archaeological features. This is much more effective than randomly guessing where to put your test units, but it’s also very expensive.
Let’s say that you implemented a geophysical survey, placed your test units over the anomalies, and found several feature stains in the ground, below the plow zone. These intact features contain charcoal that can be carbon-dated, as well as dozens of diagnostic artifacts, animal bones, and nutshells. Clearly, this site is eligible for the NRHP. Which means that your client has a difficult decision to make.
Phase III Data Recovery
You approach your client again and explain that their worst fears have been realized. The site is eligible for the NRHP. The client can either modify the construction plan or fund a data recovery. The client really likes the existing construction plan, so they decide to fund a Phase III data recovery.
The data recovery is a very large excavation that seeks to recover as much information from the site as possible before it is destroyed during construction. Your field methods will probably be similar to those used in the Phase II project. Most likely, you will be excavating test units again. But this time, you will be excavating a lot of them.
As a field tech, you probably won’t be involved much with the planning, analysis, and writing tasks that accompany an excavation of this scale. At the very least, you should know how to excavate test units in arbitrary levels and identify the cultural material you’re pulling out of the soil. As you advance in your career, you need to be able to formulate research questions and tailor your field and laboratory methods to answer those questions. And you need the technical writing prowess necessary to convey all this information in a report (don’t look to this website as an example of technical writing, this website is explicitly intended to be as understandable to laypeople as possible).
Monitoring
Aside from the aforementioned Phase I, II, and III projects, you may need to monitor active construction sites, especially if the heavy machine operators are breaking ground in a sensitive area with potential for archaeological resources or human remains. Perhaps there is a construction project near a historic cemetery, and you need to watch the excavators to make sure they don’t accidentally disrupt any unmarked graves. Or perhaps there is a construction project in a historic district of a town or city, where there is a high potential for the existence of archaeological resources buried under concrete or asphalt, so you need to watch the machines to see if they expose any artifacts or features while pulling up the pavement. There are plenty of reasons for archaeologists to monitor ongoing construction activity. I find it boring; it’s my least favorite part of the job, and I would rather be walking through swamps or thickets all day.
Qualifying For These Jobs
This may be a good time to explain how to go about getting these jobs. If you are not already working as an archaeologist, I’m going to assume you’re a student thinking about becoming one.
Most of the grunt work in CRM is done by archaeological field technicians. If you want to become an archaeological field technician, you need a Bachelor’s degree in Anthropology or a related discipline, such as Sociology or History. I’ve known plenty of field techs who studied Math or English as well. One of the best field archaeologists I’ve ever known was a math major. Most employers are looking for an Anthropology degree, but some are happy with any degree, as long as you are able to walk over fields and dig holes.
On top of the Bachelor’s degree, you need to complete a field school. The field school may offer academic credits that will help you complete your degree. If you plan to work in the United States, you should probably attend a field school somewhere in North America (if you don’t plan on working in the U.S., nothing in this blog post is relevant to you, but I wish you good luck wherever you are).
Field techs usually do not work full-time for one company. They bounce around from one project to the next, which requires that they have to work for whichever company is running a project at the time. This entails a lot of travel, and many months away from home.
If you plan to advance beyond the rank of field tech, I would recommend pursuing a Master’s degree. That’s an expensive proposition, especially considering that these jobs don’t pay well. Unfortunately, this is a profession that requires a great deal of expensive formal education, while often failing to offer a living wage. Which probably prevents a large number of competent, passionate, and intelligent people from entering the field, simply because they do not come from affluent backgrounds. Meanwhile, nitwittery runs rampant among those with advanced degrees.
I’ve found that many field archaeologists who pursue this line of work don’t really consider field tech-ing to be a “real job.” Many come from affluent backgrounds and are used to a higher standard of living than this profession can currently accommodate (though I hope wages for field techs increase in the future). Also, many come from white collar backgrounds, and are not willing to seriously consider any long-term career outside of an office environment. So they consider their jobs in CRM to be temporary measures, until they can find something that suits them better. Obviously, this does not lead to competence in the field. You can come from an affluent, white-collar background and still be perfectly competent in the field—there should be room for everyone here—but you have to have enough respect for the job to consider it a “real job,” not just an extension of your irresponsible college years.
Then again, many field techs are truly passionate about what they do, and exhibit a high level of competence, but are still driven out of the CRM industry by poor working conditions, low wages, and chronically toxic employers who constantly mistreat them. These are all very real problems in CRM, and I’m not exactly sure how to fix them on a systemic level. That isn’t really within the scope of this blog, but I think future field techs should be aware that this is generally not a profession in which people are treated well.
In due time, we may be able to change that. But it may take some time.

Leave a comment